Please Wait ...
Please Wait ...
Enquiry


Curently We are Not Serviceable In this Pincode
91 Springboard, Business Hub, Godrej & Boyce, Gate No. 2, LBS Marg, Vikhroli West, Mumbai, 400079
91 Springboard, Business Hub, Godrej & Boyce, Gate No. 2, LBS Marg, Vikhroli West, Mumbai, 400079
91 Springboard, Business Hub, Godrej & Boyce, Gate No. 2, LBS Marg, Vikhroli West, Mumbai, 400079
91 Springboard, Business Hub, Godrej & Boyce, Gate No. 2, LBS Marg, Vikhroli West, Mumbai, 400079
91 Springboard, Business Hub, Godrej & Boyce, Gate No. 2, LBS Marg, Vikhroli West, Mumbai, 400079
91 Springboard, Business Hub, Godrej & Boyce, Gate No. 2, LBS Marg, Vikhroli West, Mumbai, 400079
91 Springboard, Business Hub, Godrej & Boyce, Gate No. 2, LBS Marg, Vikhroli West, Mumbai, 400079
91 Springboard, Business Hub, Godrej & Boyce, Gate No. 2, LBS Marg, Vikhroli West, Mumbai, 400079
91 Springboard, Business Hub, Godrej & Boyce, Gate No. 2, LBS Marg, Vikhroli West, Mumbai, 400079
Min
Max
₹5,000
₹45,000
Suggested Price


Blogs> DIY Appliance Refurbishment: Step-by-Step Instructions for Beginners

“DIY Appliance Refurbishment: Step-by-Step Instructions for Beginners” is a comprehensive guide designed to empower novices with the knowledge and confidence to refurbish old appliances on their own. The overview covers every aspect of the refurbishment process, from initial assessment to final touches and maintenance. The guide begins by emphasizing the importance of assessing the appliance’s condition, highlighting the need to identify visible damage, missing parts, or malfunctions. Researching the make and model of the appliance follows, helping beginners understand its specifications and unique features, which is crucial for sourcing replacement parts. Safety is paramount throughout the refurbishment process, with a strong emphasis on precautions such as disconnecting power sources and using protective gear. The guide stresses the importance of thorough cleaning to remove dirt, grime, and buildup, setting the stage for effective repairs and upgrades. Repairing and upgrading components is a significant focus, with detailed instructions on inspecting for wear or damage and replacing faulty parts with new ones. The guide encourages beginners to consider upgrading certain components to improve efficiency and functionality, such as outdated controls with newer, more energy-efficient models. Testing the refurbished appliance is emphasized to ensure everything functions correctly before proceeding to final touches. The overview highlights the importance of giving the appliance a final inspection and touch-up, including replacing missing or damaged cosmetic parts and applying protective coatings. Finally, the guide concludes with advice on maintenance and care to ensure the longevity of the refurbished appliance. Beginners are encouraged to establish a regular maintenance routine, follow manufacturer guidelines, and avoid overloading or abusing the appliance. Overall, “DIY Appliance Refurbishment: Step-by-Step Instructions for Beginners” offers a comprehensive roadmap for beginners eager to tackle refurbishment projects. With clear instructions and practical tips, novices can embark on the journey of DIY appliance refurbishment with confidence, saving money, reducing waste, and enjoying the satisfaction of a job well done.
In a world where technology seems to evolve at lightning speed, it’s easy to overlook the potential of older appliances. Yet, with a little creativity, elbow grease, and know-how, you can breathe new life into these forgotten gems through DIY appliance refurbishment. Whether you’re looking to save money, reduce waste, or simply enjoy the satisfaction of a hands-on project, refurbishing appliances can be a rewarding endeavor. In this comprehensive guide, we’ll walk you through the step-by-step process of DIY appliance refurbishment, perfect for beginners eager to unleash their inner handyman.
Step 1 : Assess the appliance : Before diving into any refurbishment project, it’s essential to assess the condition of the appliance. Take note of any visible damage, missing parts, or malfunctions that need to be addressed. This initial assessment will help you identify the scope of the refurbishment and determine which repairs or upgrades are necessary.
Step 2 : Research and gather supplies : Once you’ve assessed the appliance, it’s time to research the make and model to understand its specifications and unique features. This information will be invaluable when sourcing replacement parts and troubleshooting issues. Next, gather the necessary tools and supplies for the refurbishment project. Basic tools like screwdrivers, pliers, wrenches, and wire cutters are essential, along with replacement parts, cleaning supplies, and safety gear.
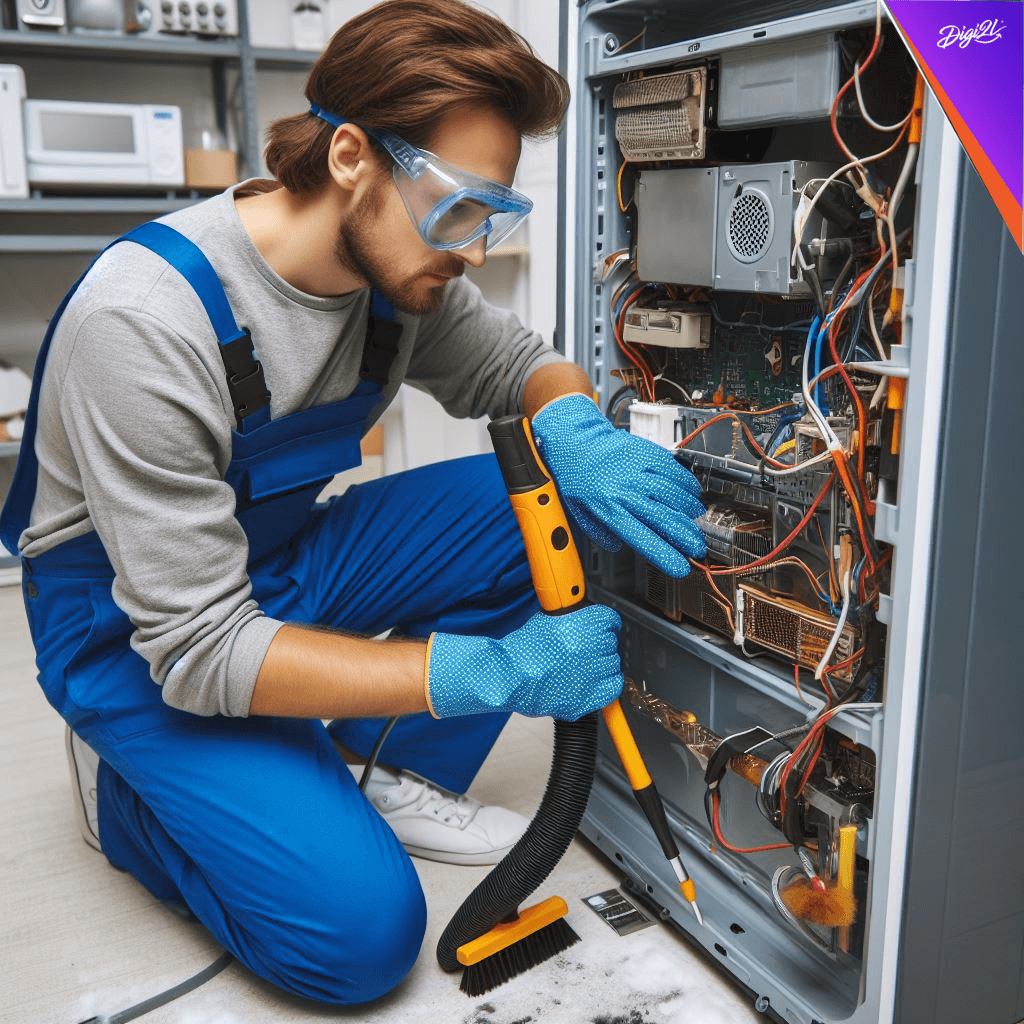
Step 3 : Safety first : Before you begin any refurbishment work, prioritize safety. Disconnect the appliance from power sources and ensure proper ventilation in your workspace. Use protective gear such as gloves and safety glasses to protect yourself from sharp edges, electrical hazards, and harmful chemicals.
Step 4 : Cleaning : Start the refurbishment process by thoroughly cleaning the appliance inside and out. Remove any dirt, grime, and buildup using appropriate cleaning agents and techniques. Pay special attention to hard-to-reach areas like vents, coils, and crevices, as these can harbor bacteria and affect the appliance’s performance.
Step 5 : Repairs and upgrades : With the appliance cleaned and prepped, it’s time to tackle repairs and upgrades. Carefully inspect each component for signs of wear or damage, focusing on critical areas like motors, belts, seals, and electrical connections. Replace any faulty parts with new ones, ensuring compatibility and proper installation. Consider upgrading certain components to improve the appliance’s efficiency or functionality, such as replacing outdated controls with newer, more energy-efficient models.
Step 6 : Testing : Once all repairs and upgrades are complete, test the appliance to ensure everything is in working order. Plug it in and run a few test cycles to verify that all components are functioning correctly. Pay attention to any unusual noises, smells, or performance issues, as these may indicate underlying problems that need to be addressed.
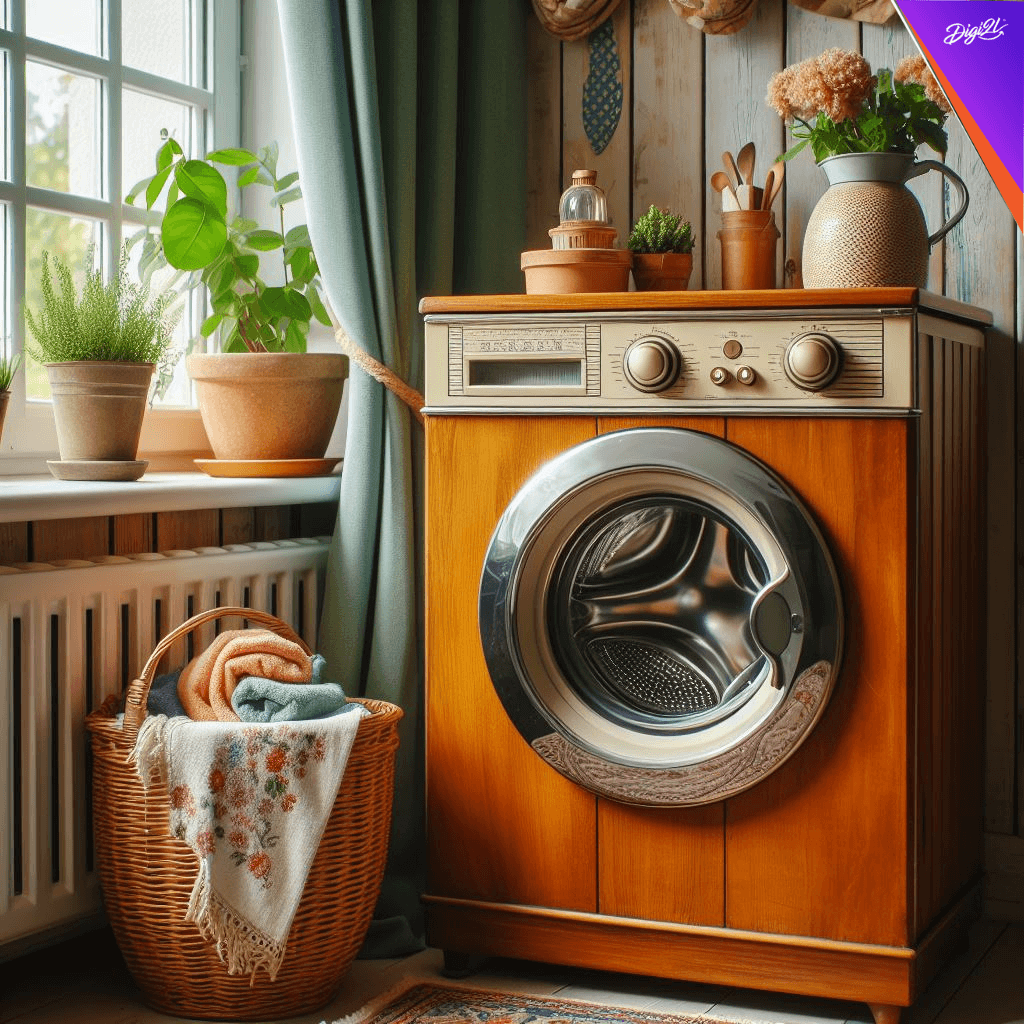
Step 7 : Final touches : With the refurbishment complete, give the appliance a final inspection and touch-up. Replace any missing or damaged cosmetic parts, such as knobs, panels, or decals, to restore its appearance. Polish metal surfaces and apply a protective coating to prevent future rust or corrosion. Take pride in your work and admire the transformation of your refurbished appliance.
Step 8 : Maintenance and care : To ensure your refurbished appliance continues to perform optimally, establish a regular maintenance routine. Clean and inspect the appliance periodically, checking for signs of wear or damage and addressing any issues promptly. Follow manufacturer guidelines for proper use and maintenance, and avoid overloading or abusing the appliance to extend its lifespan.
DIY appliance refurbishment offers a cost-effective and rewarding way to breathe new life into old appliances. With the step-by-step instructions outlined in this guide, beginners can confidently tackle refurbishment projects, saving money, reducing waste, and enjoying the satisfaction of a job well done. So roll up your sleeves, gather your tools, and embark on the journey of DIY appliance refurbishment – your wallet and the planet will thank you!

By Digi2L - April 27, 2024
By Digi2L - April 26, 2024

By Digi2L - April 25, 2024